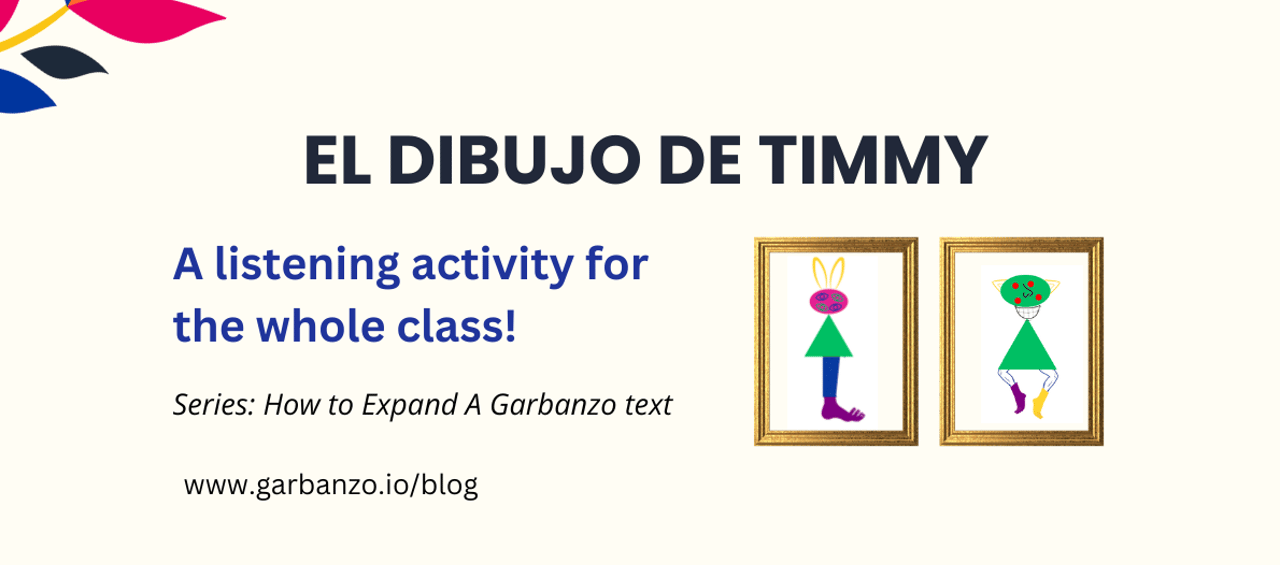
El dibujo de Timmy
Welcome to the first of our official “How to Extend A Garbanzo Lesson” series, where we highlight specific Garbanzo lessons and show how to turn them into more than just a single lesson or activity.
In this post, we’ll focus on the lesson, “El dibujo de Timmy.”
Dibuja, abre la puerta, cabeza, ojos, piernas, nariz, orejas, cuerpo, boca, pie, camina, dedos
In “El dibujo de Timmy,” an art teacher describes how to draw a monster to her class, but one student doesn’t want to be there – so he draws the opposite of what she instructs.
To prepare
Pass one sheet of paper to each student. Make sure everyone has access to eight colored pencils or markers (green, pink, red, yellow, black, blue, purple, white).
Tell the class that this lesson will be both a listening and acting activity. Then, divide the class in half – half will act as la Sra. Hernández and half will act as Timmy. You can either divide the room in half or do every other student.
Explain that as they listen, they’ll hear Sra. Hernández describe in the story what she wants her class to draw. The half of the class that is Sra. Hernández will draw from those instructions.
Students will also hear a student named Timmy decide to draw something else. The students who are Timmy will draw those things! For extra fun, you could point out how grumpy Timmy is during class, and encourage them to make grumpy faces as they draw.
Note: If you decide to include Timmy’s grumpy faces, you may want to set expectations about when your students acting as Timmy should drop those faces. Otherwise, too much focus might be on making the silliest face possible instead of listening and drawing what they hear.
Go over core vocabulary: Dibuja, abre la puerta, cabeza, ojos, piernas, nariz, orejas, cuerpo, boca, pie, camina, dedos
Lesson and activity
Open the lesson “El dibujo de Timmy” in class in preview mode. It’s up to you if you want to have prefilled questions or not.
As you read the story, give your students a minute or so after each description to draw what they hear. They’ll be adding pieces of the monster bit by bit.
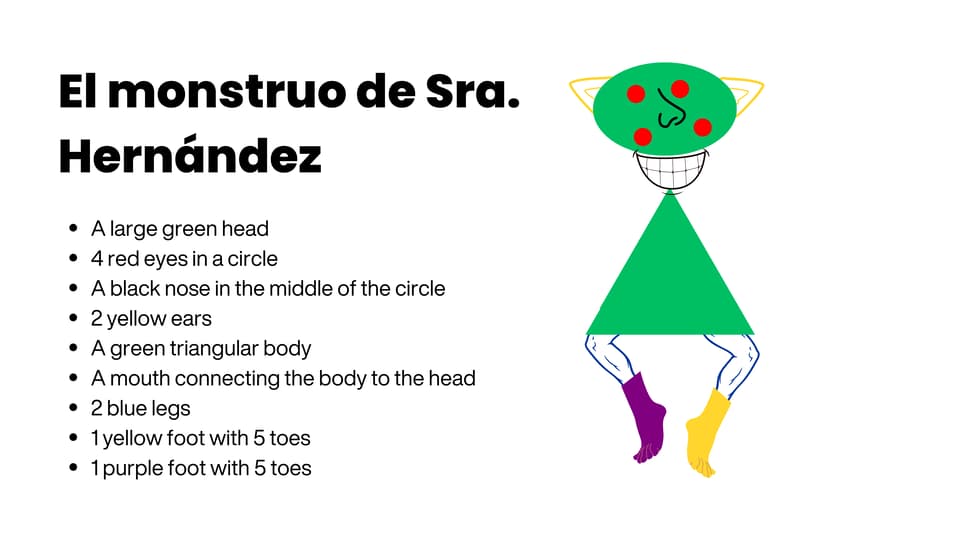
Sra. Hernández' monster

Here’s what Sra. Hernández’s monster should have:
- A large green head
- 4 red eyes in a circle
- A black nose in the middle of the circle
- 2 yellow ears
- A green triangular body
- A mouth connecting the body to the head
- 2 blue legs
- 1 yellow foot with 5 toes
- 1 purple foot with 5 toes
We've provided an example above, but yours may look very different!
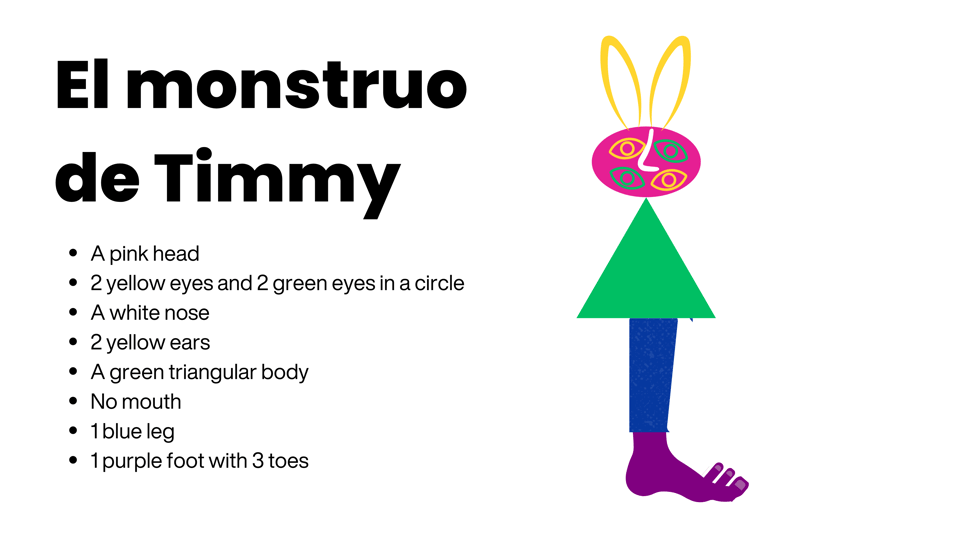
Timmy's monster

Obviously, Timmy’s monster will look very different. Here are the clues from Timmy’s monster:
- A pink head
- Two yellow eyes and two green eyes in a circle
- A white nose
- 2 yellow ears
- A green triangular body
- No mouth
- 1 blue leg
- 1 purple foot with 3 toes
Compare monsters
Once you’ve finished the lesson, have students place their drawings on their desk. Tell everyone to get up and walk around the room to compare.
Extend the lesson even more with Storyasking
Collect the drawings. The following day, select one of the drawings and do a Storyask around this monster.
Who is this monster? What’s their name? Where do they live? What do they eat? Do they live by themselves or in a group and so on and so forth.


